How to create a Render Target
Demonstrates how to create a render target using a RenderTarget2D.
Overview
The example is very basic but the principles are the same, when drawing to a Render Texture we apply the following process.
- Set the Graphics Device to output to a texture.
- Clear the buffer (or not depending on the use case).
- Draw the full screen contents required in the Render Texture, e.g. a map or camera view.
- Reset the Graphics device to the back buffer (screen).
- Draw your game as normal.
- Draw the Render Texture to the screen in the position we desire (e.g. in the lower corner for a mini-map), most likely on top of your game graphics.
Tip
The technique is very useful, especially if you are doing split-screen gaming and need to draw multiple camera views.
Requirements
This sample uses a grid texture (available below) to draw to the RenderTarget2D before then rendering the contents of the Render Target to the screen as a texture.

Download the Grid texture and add it to your Content Project for this example. (see How to Add Content for more information on this.)
Creating a Render Target
Declare variables for a render target using the RenderTarget2D class, for this example we will also be using a Texture2D for the "grid" texture we will output to the
Render Target.private GraphicsDeviceManager _graphics; private SpriteBatch _spriteBatch; private Texture2D grid; private RenderTarget2D renderTarget;Load the "grid" texture, which contains vertical and horizontal lines.
protected override void LoadContent()
{
    // Create a new SpriteBatch, which can be used to draw textures.
    _spriteBatch = new SpriteBatch(GraphicsDevice);

    // using "grid" which matches the NAME of the grid texture in the content project.
    grid = Content.Load<Texture2D>("grid");
}
While still in the
LoadContentmethod, create the render target, giving it the same size as either the Texture (shown below) or the display back buffer (if you are rendering full screen), ideally in the Game.LoadContent method or later.renderTarget = new RenderTarget2D( GraphicsDevice, grid.Width, grid.Height);Render the "grid" texture to the render target.
Rendering to a RenderTarget2D changes the Graphics Device output to write to a
textureinstead of the screen. Once you have finished rendering to the RenderTarget2D you MUST reset the GraphicsDevice Render Target tonullto return to drawing to the screen / back buffer.The example function below, sets the render target on the device, draws the texture (to the render target) using a SpriteBatch. When rendering is complete, it then resets the device render target to
null(which resets the device to the back buffer).private void DrawRenderTarget() { // Set the device to the render target GraphicsDevice.SetRenderTarget(renderTarget); // Clear the graphics buffer to a solid color GraphicsDevice.Clear(Color.Black); // Draw the "grid" texture to the graphics buffer, currently outputting to the Render Texture. _spriteBatch.Begin(); _spriteBatch.Draw(grid, Vector2.Zero, Color.White); _spriteBatch.End(); // Reset the device to the back buffer GraphicsDevice.SetRenderTarget(null); }Draw the render target texture to the back buffer.
With the render target populated using the
DrawRenderTargetfunction, we can then draw the output to the screen.protected override void Draw(GameTime gameTime) { // Populate the RenderTarget DrawRenderTarget(); // Clear the screen GraphicsDevice.Clear(Color.CornflowerBlue); // Draw the contents of the Render Target texture _spriteBatch.Begin(); _spriteBatch.Draw(renderTarget, new Vector2(200, 50), // x,y position new Rectangle(0, 0, 32, 32), // just one grid Color.White // no color scaling ); _spriteBatch.End(); base.Draw(gameTime); }
The final output should look like the following:
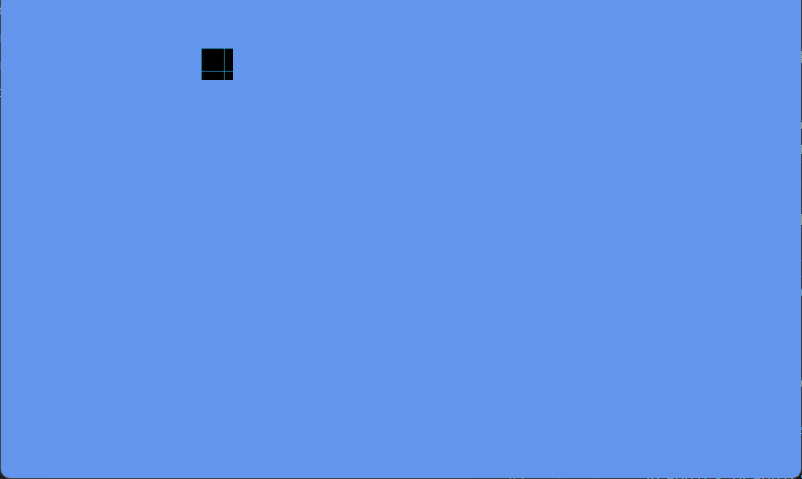
Rendering a 32 by 32 square from the RenderTarget texture to a position 200 x 50 on the screen.