Adding Content
This tutorial will go over adding content such as images or sounds to your game.
Note
this tutorial continues from where 3. Understanding the Code left off.
MonoGame Content Builder Tool (MGCB Editor)
The MGCB Editor is used to organize and build content for use with MonoGame. It is accessed by either:
- Double-clicking a "
.mgcb" file from within the Visual Studio solution explorer (providing that you installed MonoGame's Visual Studio extension). - Right-clicking a "
.mgcb" file from within the Visual Studio code and selecting "Open in MGCB Editor" (provided you have installed the VSCode extension) - Use 'dotnet mgcb-editor' to open Editor, than open "
.mgcb" file from menu.
Alternatively, you can build it directly from source if needed.
This is all technically optional, since you can edit the
.mgcbfiles manually if you wish, but the editor is highly recommended for ease of use.
Adding content
First, you will need some content for your game. For this tutorial, use the following image of a ball:

Copy the image to your machine by using right-click > Save Image As and save it somewhere locally with the name “ball.png”.
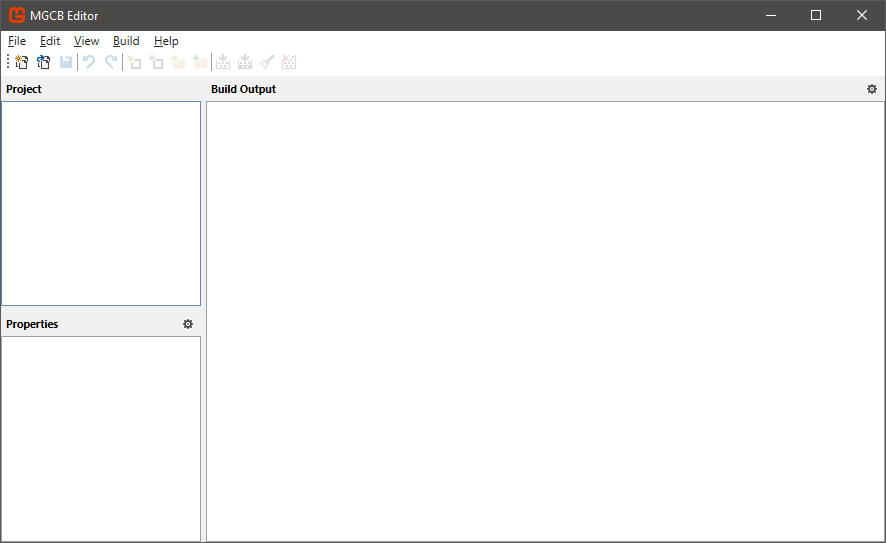
Open the MGCB Editor
- In Visual Studio you can up your game project and look at the Solution Explorer window. Expand the
Contentfolder and open upContent.mgcbfile by double-clicking on it. - Right-clicking a "
.mgcb" file from within the Visual Studio code and selecting "Open in MGCB Editor".
You should now see the MGCB Editor window open up.
Note
If a text file opens instead, then right-click on Content.mgcb and select Open With, then select MGCB Editor in the list, click Set as Default and then click OK, then try again.
If you do not see the MGCB Editor option when you right-click and select Open With, then please review the Tools documentation for installing the MGCB Editor tool for your operating system.
Understanding the MGCB Editor
Your game content is managed from this external tool. You can add content to your game in one of the following ways:
Add Existing Itemtoolbar buttonEdit > Add > Existing Item...menu buttonright-click > Add > Existing Item...context menu
Make sure the "Content" Node is selected to the left, then click the Add Existing Item toolbar button.

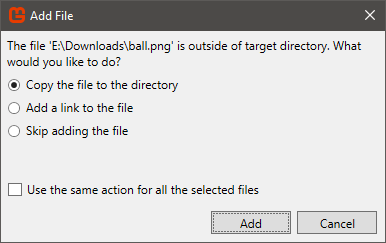
You should now be prompted to select a file. Select the ball.png image that you downloaded a moment ago. Once you have confirmed your selection, you will be asked whether to copy the file, add a link to it, or skip it. Make sure Copy the file to the directory option is selected and click Add.
Now click the Save toolbar button and close the MGCB Editor tool.

Adding the content in your game
Now that you have added the asset to the Content project, it is time to load it into your game. First, open up the Game1.cs class file and declare a new ballTexture variable of type Texture2D in the Game1 class, so you can store the ball image into memory.
public class Game1 : Game
{
    Texture2D ballTexture;

    private GraphicsDeviceManager _graphics;
    private SpriteBatch _spriteBatch;
Next, find the LoadContent method. Here, use Content.Load() function to load the "ball" sprite and store it in the ballTexture parameter. Content.Load() requires you to specify what type of content you are trying to load, in this case it is a Texture2D.
protected override void LoadContent()
{
    // Create a new SpriteBatch, which can be used to draw textures.
    _spriteBatch = new SpriteBatch(GraphicsDevice);

    // TODO: use this.Content to load your game content here
    ballTexture = Content.Load<Texture2D>("ball");
}
Finally, find the Draw method to draw the ball onto the screen. This is done by:
Opening a
SpriteBatch(an image drawing collection function) by calling theBeginfunction.Adding the images you want to draw and specifying where you want to draw them.
Then finally finishing the
SpriteBatchto commit the textures you want drawn to the screen by calling theEndfunction.
Note: if you add multiple images, they will be drawn in the order you place them from back to front (each drawn on top of each other).
As shown below:
protected override void Draw(GameTime gameTime)
{
    graphics.GraphicsDevice.Clear(Color.CornflowerBlue);

    // TODO: Add your drawing code here
    _spriteBatch.Begin();
    _spriteBatch.Draw(ballTexture, new Vector2(0, 0), Color.White);
    _spriteBatch.End();

    base.Draw(gameTime);
}
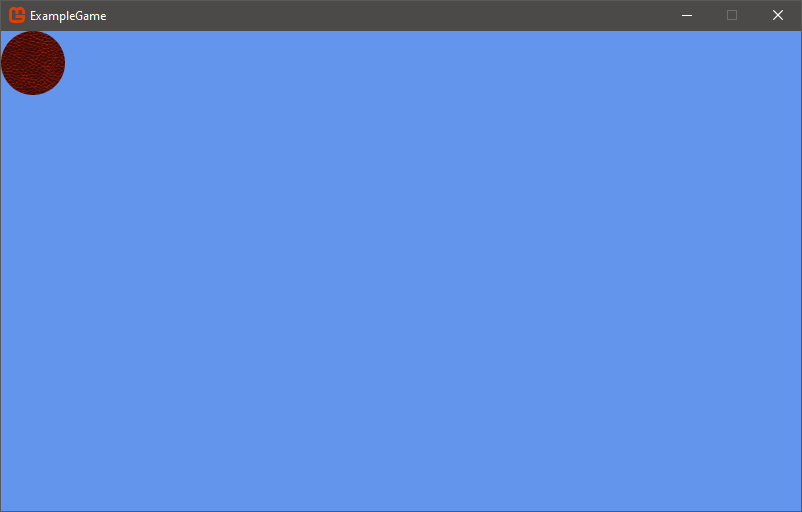
Now run the game. You should get the following:
Next Steps
Next, learn how to get your first basic game concept running: