Setting up your development environment for VSCode
A step-by-step guide for setting up your development IDE using VSCode
This is a guide on setting up your development IDE for creating games with MonoGame using Visual Studio Code. By following this guide, you will learn how to install the necessary tools for developing C# applications and configure Visual Studio Code with recommended extensions for C# development.
By the end, you will be fully equipped to start creating games with MonoGame using Visual Studio Code.
Install Visual Studio Code
Open your web browser and navigate to https://code.visualstudio.com/.
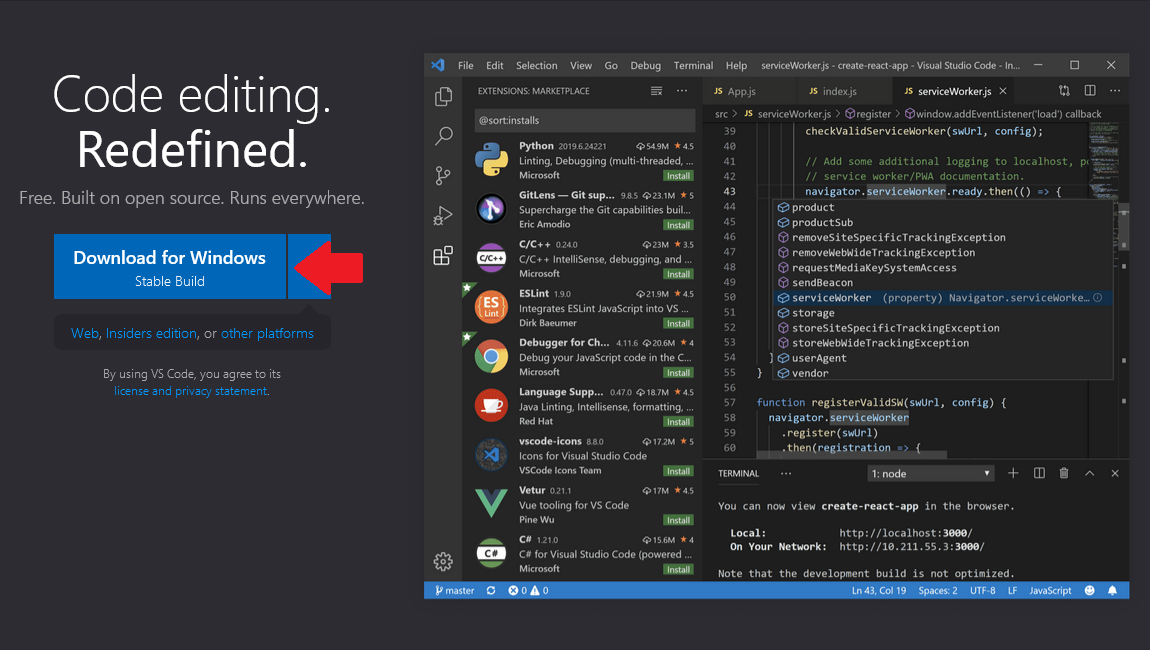
Click the Download for Windows button. This will redirect you to the download page where the installer will automatically download.
When the download completes, run the installer and complete the steps to install Visual Studio Code.
Setting up VS Code for development with MonoGame
Open Visual Studio Code.
Open up its terminal window (
Ctrl+`).Run the following command to install MonoGame Templates:
dotnet new install MonoGame.Templates.CSharp
Tip
Alternatively, consider using the Preview Packages provided by MonoGame to get access to the latest developments.
Install Visual Studio Code C# Extensions
To transform Visual Studio Code from a simple text editor into a powerful development environment for C# projects, you must install the Visual Studio Code C# extension. This extension enhances the editor by providing syntax highlighting, code analysis, IntelliSense, and other features that significantly improve the development experience and productivity when working with C#.
Open Visual Studio Code.
Click the Extensions icon in the Activity Bar on the left.
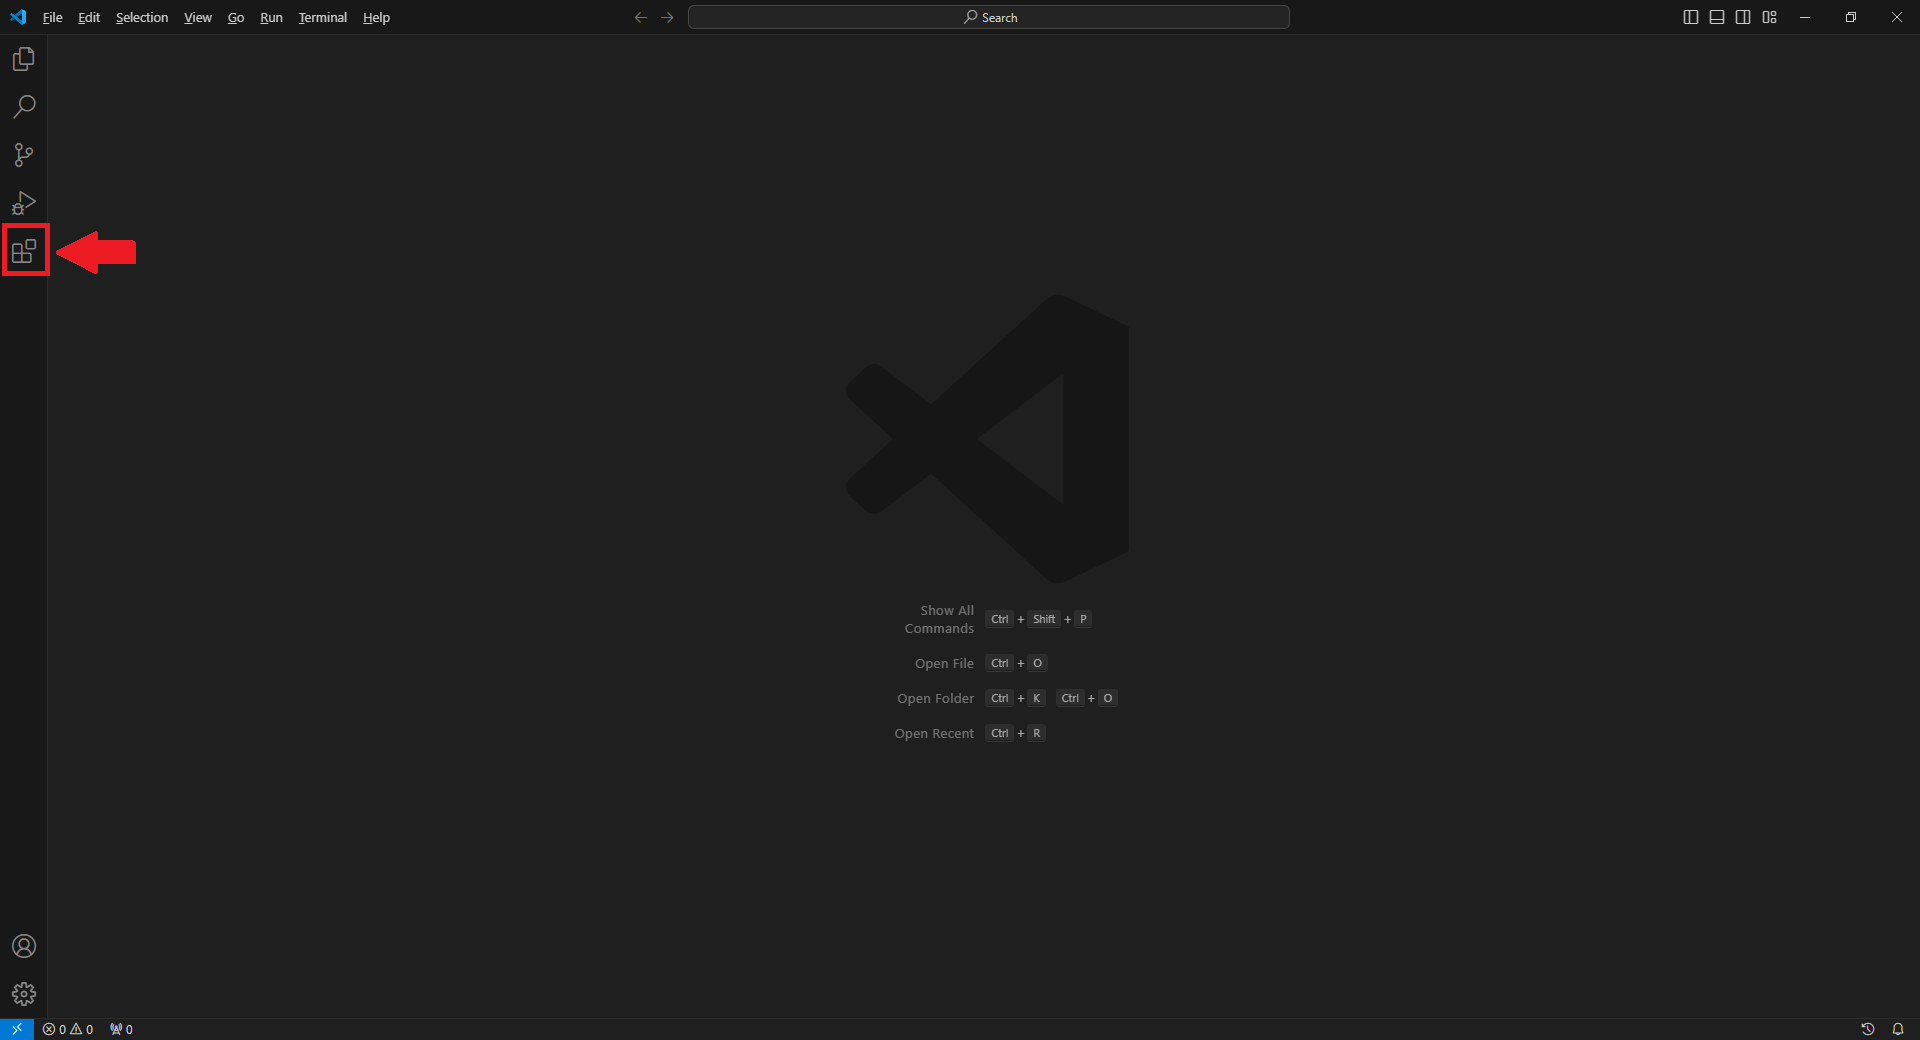
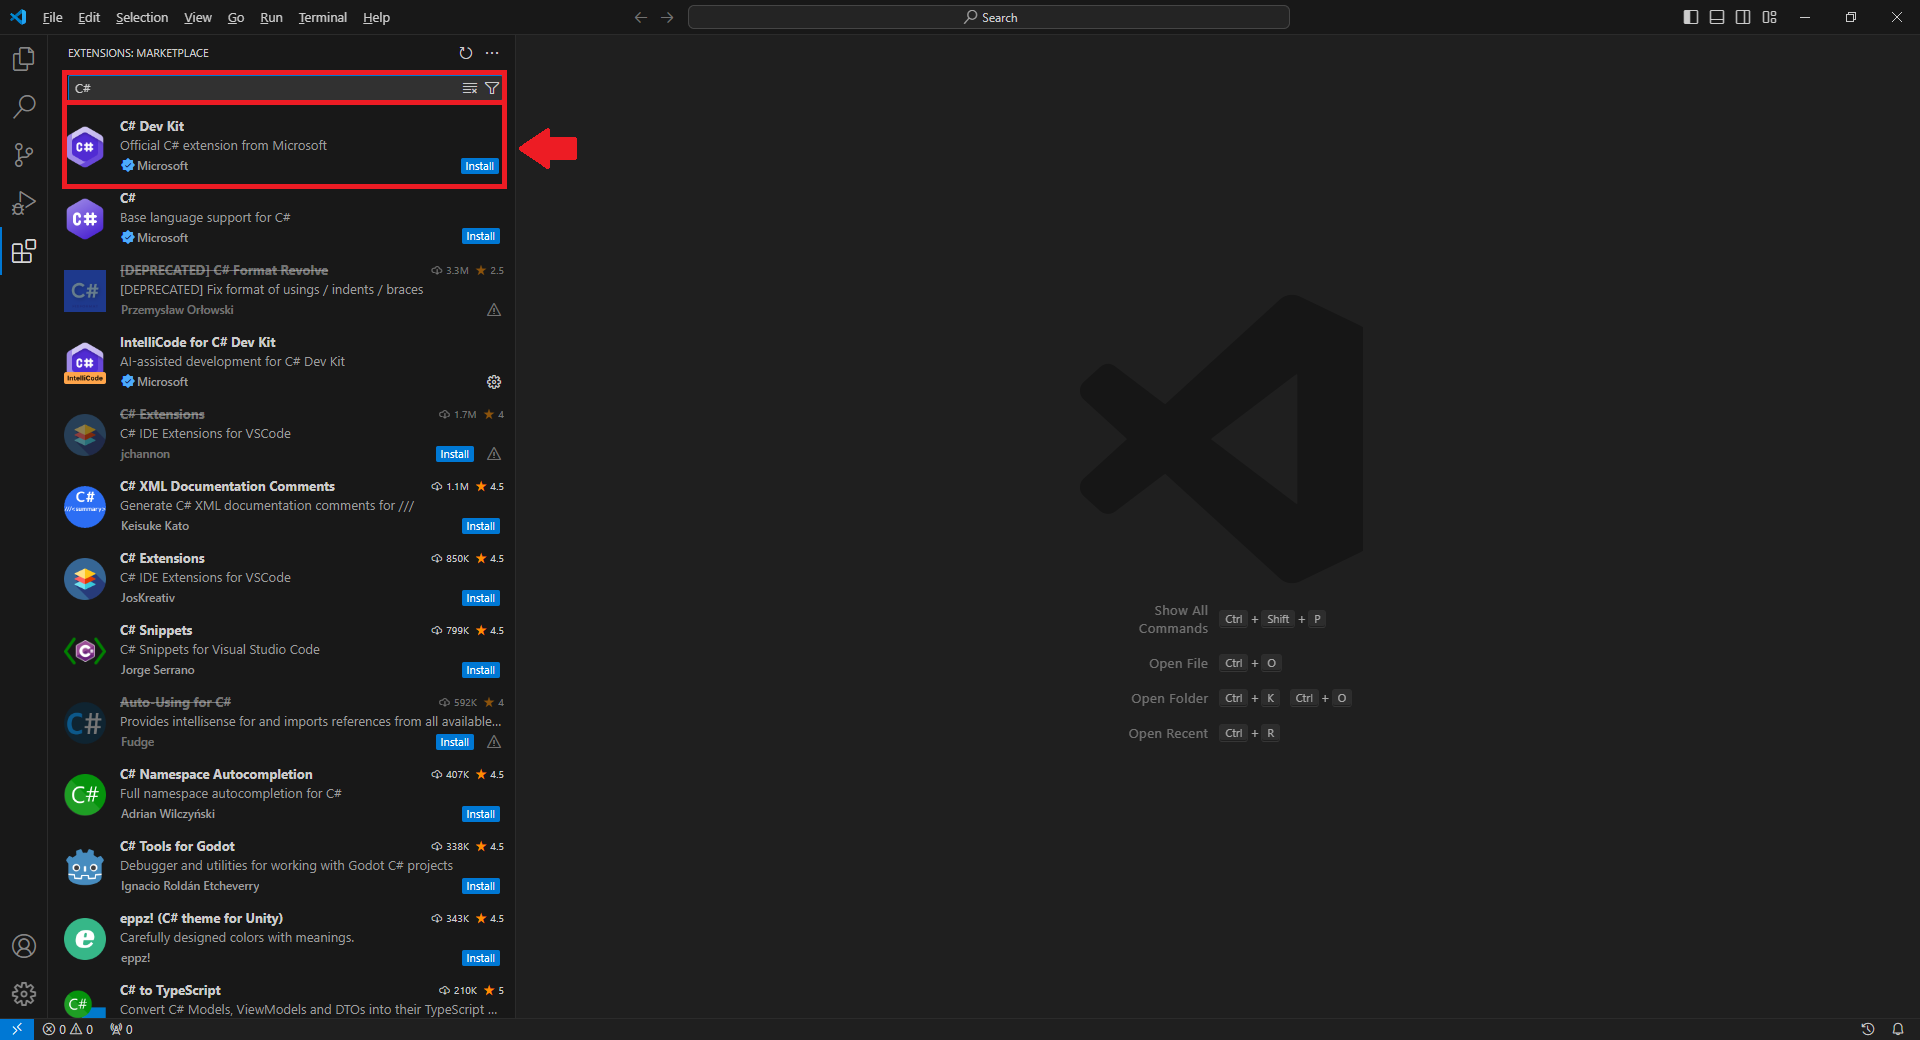
In the Search Box type
C#.Click Install for the C# Dev Kit extension. Installing this will also install the base C# extension.
Note
For Arch Linux Code OSS users: The C# Dev Kit extension is not compatible with Code OSS. Instead, install only the base C# extension (by Microsoft), which provides all the core functionality needed for MonoGame development including IntelliSense, debugging, and code navigation.
(Optional) Install the "MonoGame for VSCode" extension
A community member has built a VSCode extension for VS code to enable:
- Automatically install MonoGame templates
- Create new projects from the file menu or command palette
- Open the MGCB editor with the click of a button (very useful)
You can find this extension by following the steps above and searching for "MonoGame for VS Code" by r88.
Note
While not built by the MonoGame team, we regularly use this extension ourselves and fully support it.
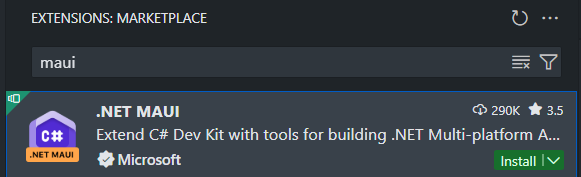
(Optional) Install the ".NET MAUI" extension to help with mobile development
This extension is provided by Microsoft and is built on top of the C# and C# Dev Kit extensions. They will be installed as dependencies if they were not already installed. While primarily designed for MAUI development, it provides essential mobile debugging capabilities that MonoGame mobile projects can utilize.
The .NET MAUI extension adds features for building mobile apps, including:
- F5 debugging support - Debug your MonoGame mobile apps on emulators, simulators, and physical devices
- Easy target switching - Change debug/deploy targets between different mobile platforms
- Enhanced C# Dev Kit integration - Leverages Solution Explorer, Test Explorer, and advanced language features
Note
This extension is recommended if you wish to do iOS or Android development. It is required for debugging support when working on mobile games.
Warning
For Arch Linux Code OSS users: The .NET MAUI extension requires C# Dev Kit and therefore is not compatible with Code OSS. You will need to use the official Visual Studio Code for mobile development support.
Creating a new MonoGame project
Open up an empty folder in Visual Studio Code.
Open up its terminal window (
Ctrl+`).Run the following command to create an empty project for desktop platforms:
dotnet new mgdesktopglOnce the files are created, open up the
Game1.csfile and wait a second for the C# extension to load.You can now press F5, select C# and then your projects name if Visual Studio Code asks you, and it should start up your brand new game!
Update Project Tool references
The MonoGame Content Editor (MGCB) it a tool delivered through NuGet for your project using the tools configuration held in your dotnet-tools.json file (located in the .config folder of your project).
Once you have created your project you should run the following terminal/command-line command to ensure the tool (and the pipeline) is setup and read for your project:
dotnet tool restore
Note
If you ever change the version of the tools or want to upgrade them by editing the dotnet-tools.json configuration, you MUST run this command again to update the tools.