Creating a new project
A step-by-step guide for creating a new project using Visual Studio
This guide will walk you through building a starter game with MonoGame using Windows and Visual Studio 2022.
It is assumed that you have already properly installed Visual Studio 2022 and MonoGame.
Start Visual Studio 2022 and select New Project... in the upper left corner.

You should see the "Create a new project" dialog pop up. From here, select the Templates > Visual C# > MonoGame category, and then select MonoGame Cross Platform Desktop Project.
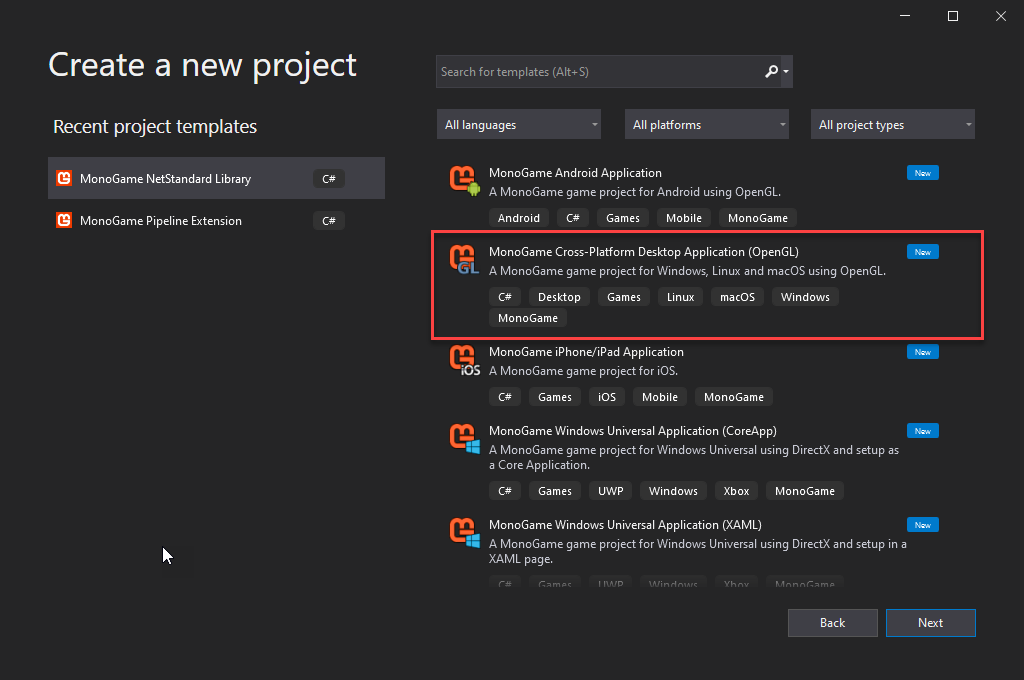
Next, type in a name for your project. For this tutorial, Pong will be used (note: project names cannot contain spaces). After you have entered the name, click on the ... button next to the Location text field and choose the folder you want to save the project in. Finally, click OK to create the project.

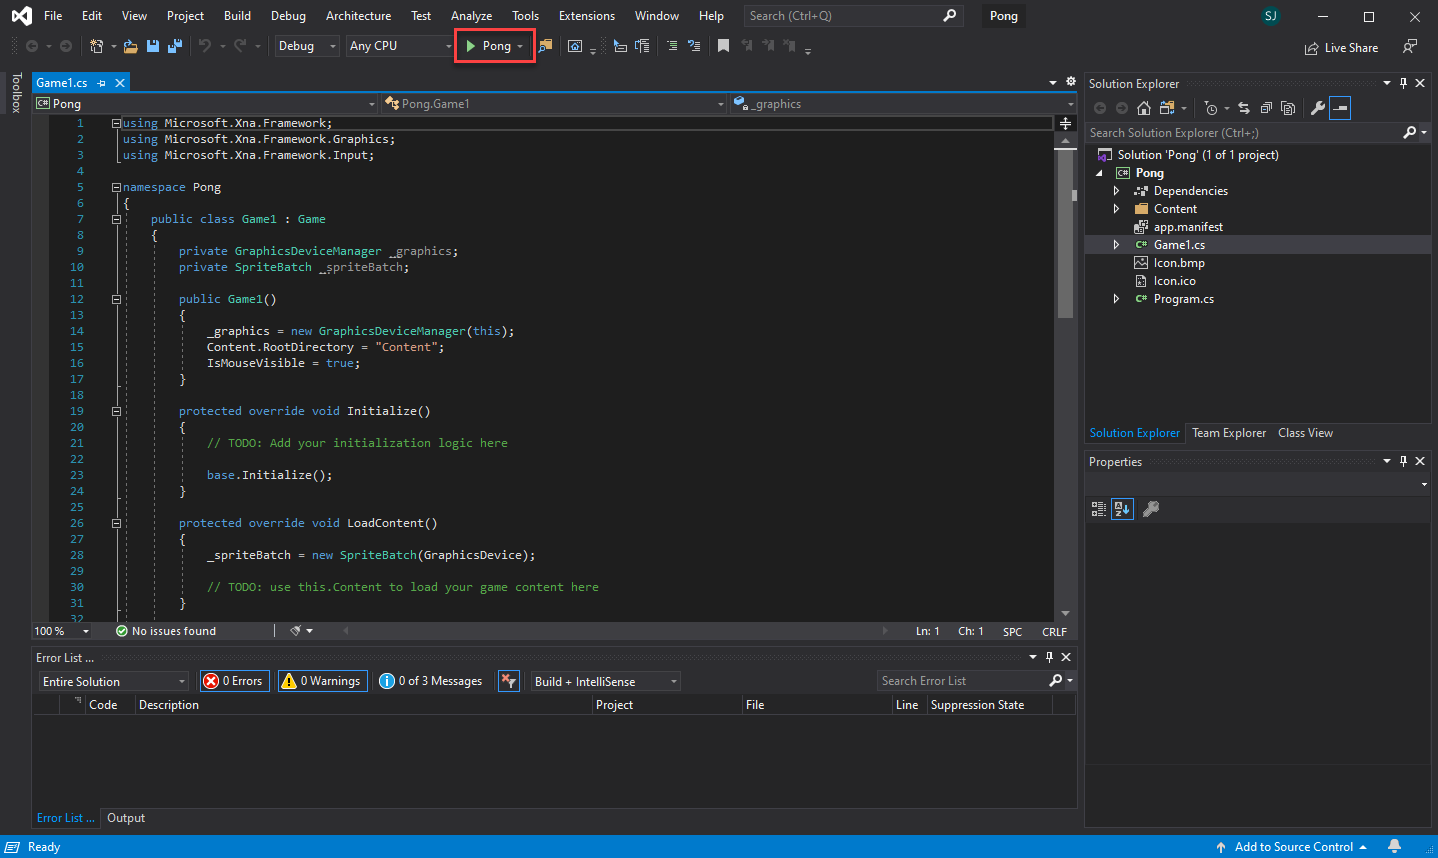
If everything went correctly, you should see a project named Pong open up like in the picture below. To run your game, simply press the big Play Button in the toolbar, or press F5.
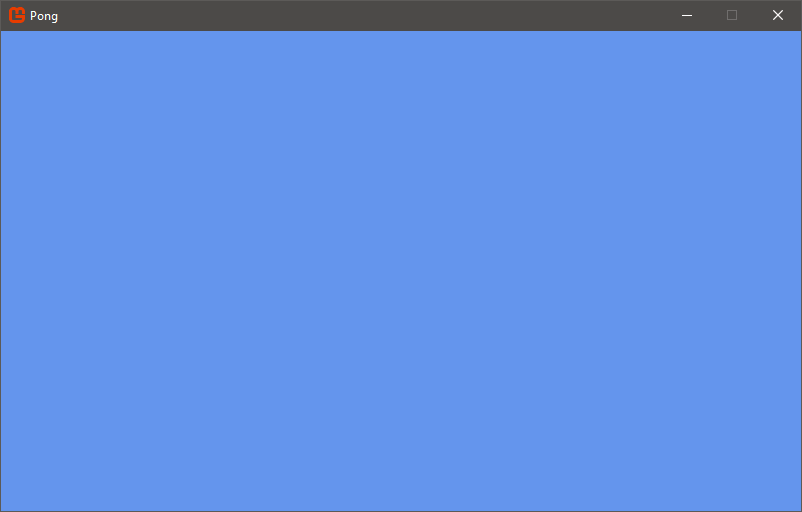
You should now see your game window running.
Next up: Understanding the code