Setting up your development environment for Rider
A step-by-step guide for setting up your development IDE for Rider
This is a guide on setting up your development environment for creating games with MonoGame using JetBrains Rider. By following this guide, you will learn how to install and configure Rider with the recommended extension for MonoGame development.
Installing Rider
Note
Rider is free for non-commercial use, you do have to register and create an account, but otherwise all features will be unlocked.
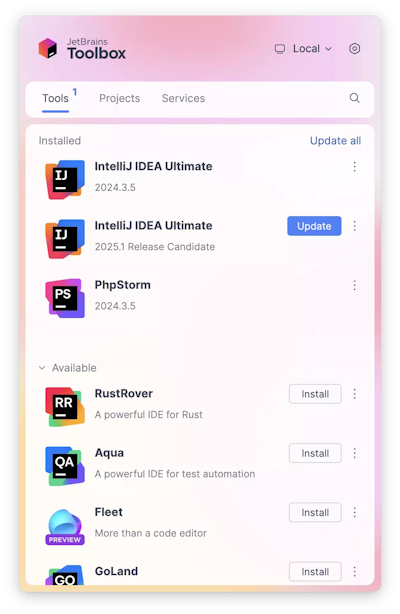
Toolbox App
The JetBrains Toolbox App is the recommended tool to install JetBrains products. It allows instant rollbacks, having multiple Rider instances, auto-updating to the latest version, and unifies the setup experience across OSes.
Install Rider using JetBrains Toolbox
Standalone installation
In case you prefer manual installation, please follow the corresponding guide that is relevant to your operating system:
Configuring MonoGame development environment
It is recommended to use the MonoGame plugin for JetBrains Rider when working under your project in Rider to unlock the most available IDE features. The plugin is free, open-source, and distributed under the MIT license. However, this step is still optional.
To explore all available features of the MonoGame plugin for Rider, you can refer to the rider-monogame/README.md.
Installing MonoGame plugin
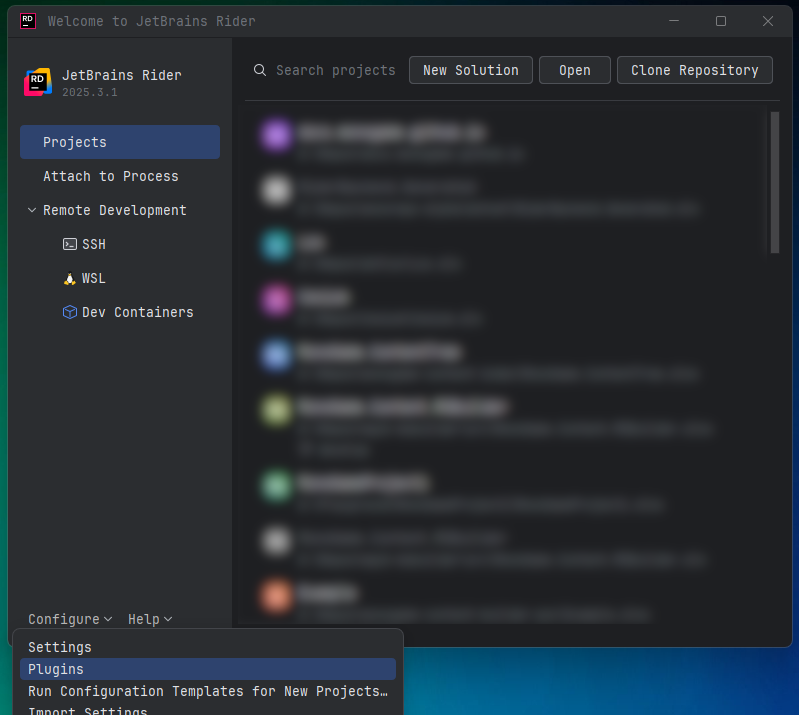
Click on the "Plugins" menu item on the Welcome screen:
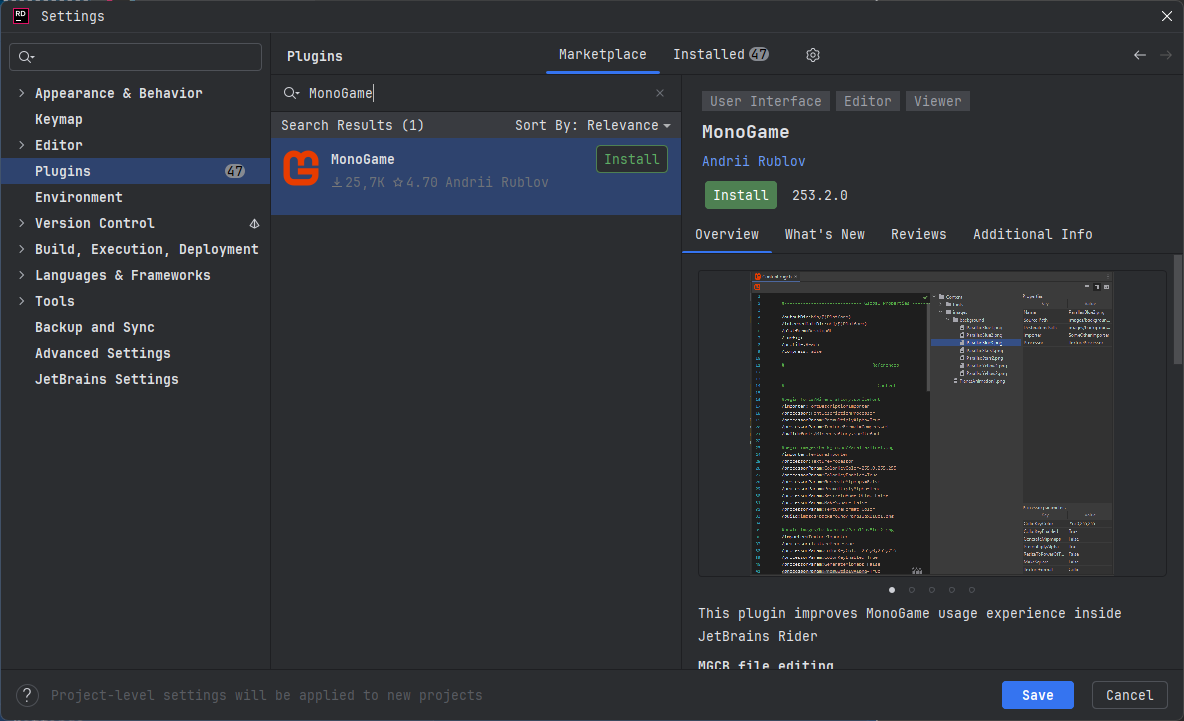
Under the "Marketplace" tab, search for the "MonoGame" in the search bar
Click on the "Install" button next to the MonoGame plugin:
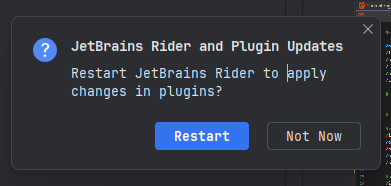
Don't forget to restart Rider after installation, when prompted:
Installing project templates
Click on the "New Solution" button
On the left sidebar of the New Project Wizard, find the MonoGame section:

Click "Install MonoGame Templates".
Warning
As of Rider 2025.3, due to a known bug, the MonoGame.Templates.CSharp package that Rider installs globally will not be automatically visible to the dotnet new from the terminal. You need to install them manually too.
Creating a new MonoGame project
Click on the "New Solution" button
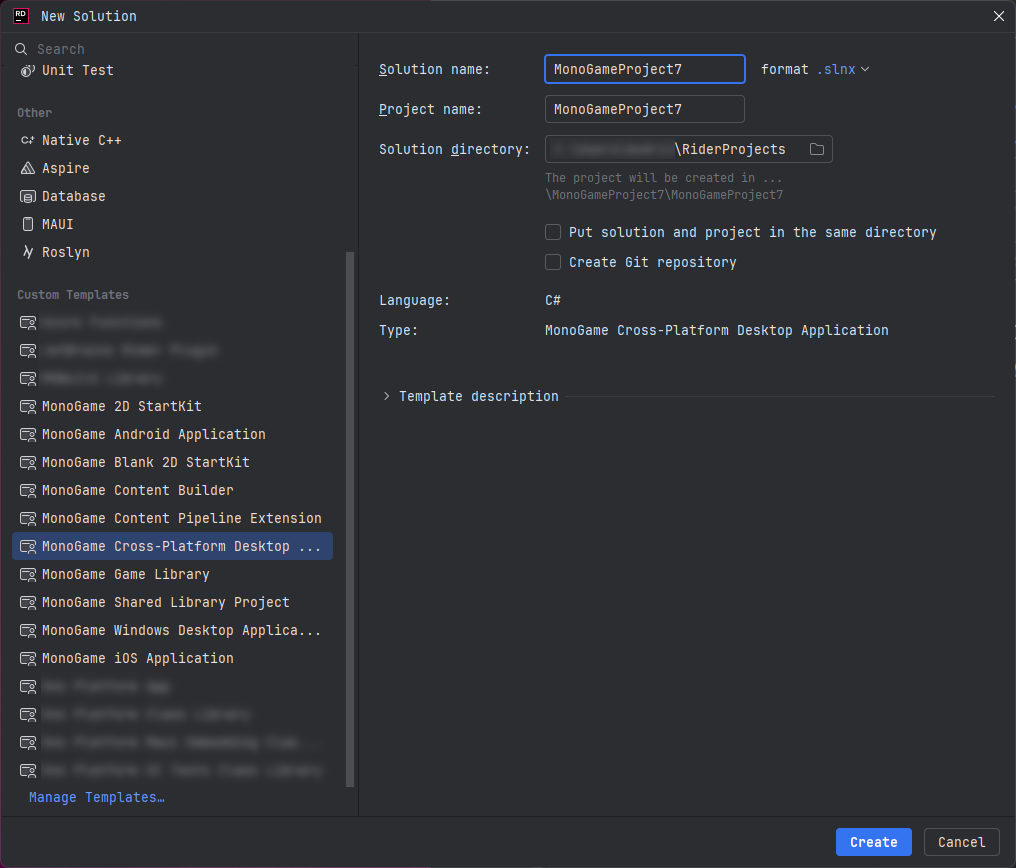
On the left sidebar of the New Project Wizard, select the MonoGame section
Fill the "Solution name" and "Solution directory"
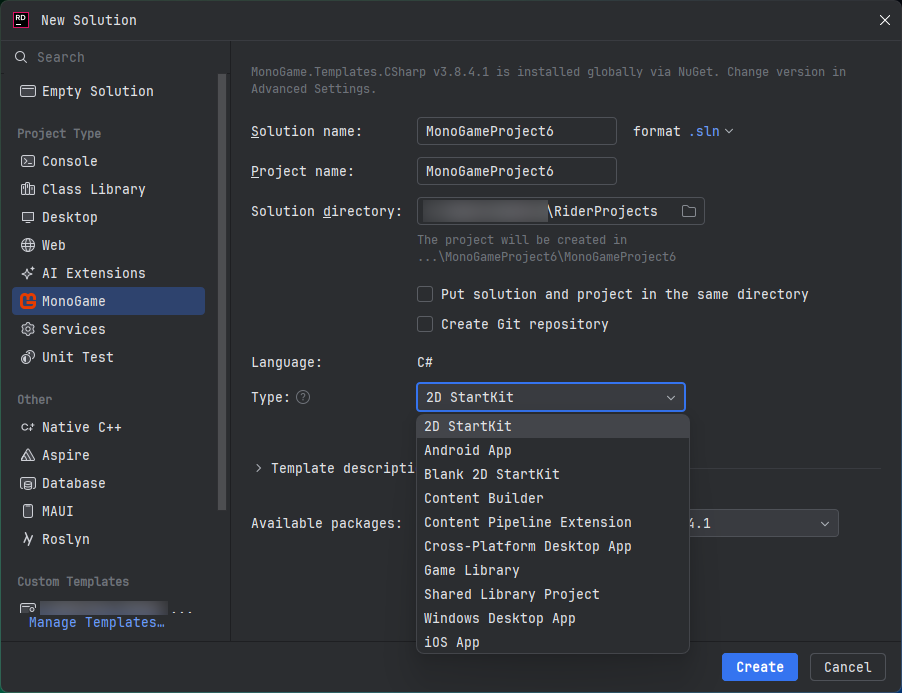
Choose the project type:
Click "Create"
You can now press
F5to compile and debug your game!
Note
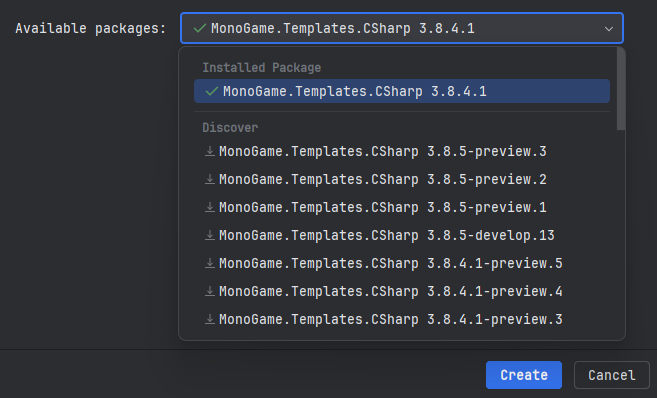
In case you want to use the different versions of the project templates, including preview packages, you can select another available package version under the "Available packages" field:
Keeping your environment up to date
A couple of advice to keep your development setup up to date:
Always use the latest stable version of Rider. Configure the update policy for the Rider installed via installer or for the Rider installed via the Toolbox App.
It is recommended to enable the plugins auto-update feature.
This way both Rider and installed plugins will always be up to date with the newest fixes and features available.
Troubleshooting
Note
In case you need any further assistance or problem troubleshooting, please drop a message into the #help-rider channel on the MonoGame Discord server.
ContentBuilder doesn't detect changes in content files in subsequent runs
ReSharper Solution Builder tries to proactively optimize MSBuild targets building, which means some targets that doesn't support incremental compilation would essentially be ignored. About ReSharper build feature: https://www.jetbrains.com/help/rider/Build_Process.html
There is an option under Settings > Build, Execution, Deployment > Toolset and Build > Build section
called "Invoke BeforeBuild and AfterBuild targets for skipped projects" to force Rider to call targets that depend on
BeforeBuild and AfterBuild, which solves this problem:
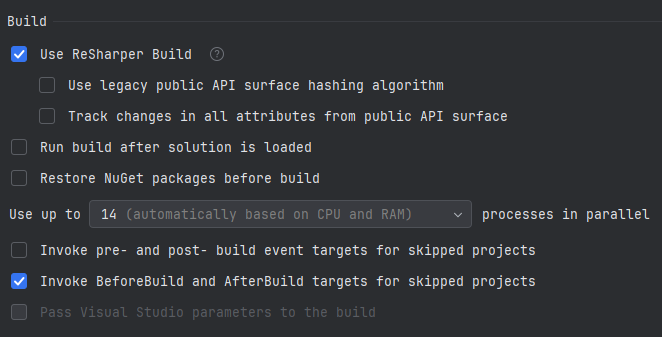
Enable it and click "Save".
If even after that change a Content Builder project doesn't get executed, you can completely disable ReSharper build under the same section:
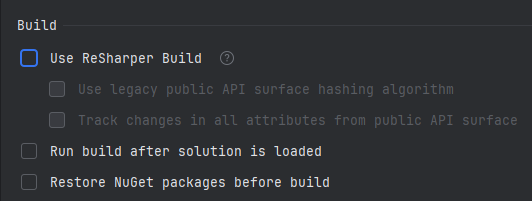
Don't forget to save changes.
Issues with compiling MGFX effects under Linux
You might need to add the MGFXC_WINE_PATH environment variable to /etc/environment for it to be picked up. See 5777151094034-Rider-cannot-see-all-Environmental-Variables for details.